Doxie Dash
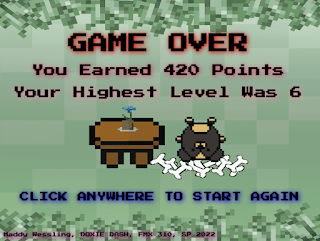
***IMAGE FLASH WARNING: PLEASE DO NOT WATCH THE VIDEO IF YOU ARE SENSITIVE TO MOVEMENT OR FLASHING LIGHTS*** Here is my final Creative Coding project, the OOP game! My game is called Doxie Dash and the goal is simple: eat as much food as possible without eating worms! Food increases your points, and worms decrease your points. Whoever has the most points wins, or go for your own high score! If you would like to play the game for yourself, you can play it here : Doxie Dash Fantastical Facts: Doxie Dash Edition: This project is 717 lines in total, including all of the external Javascript files. That isn't too bad, but the file size is by far the biggest one yet, with all of the images and music elements. These characters may look familiar, and that is because they are from my last project! I did make more doxies other than Coco! They are all named after real life doxies in the code! I really wanted the levels to change without having to collect the worms, however, ...